
As mentioned in a previous post, I actually did participate in a zine already but didn’t remember lol, I was likely not physically present at any point so that’s probably why. My friend Cat organized a fashion zine about Austin lolitas years ago, and I contributed the cover illustration of two cowboy lolitas, overall the zine was adorable and a little goofy. I don’t live in Austin but since I attended a handful of events and helped with their tea parties, I am basically part of the comm, right? If you want to see photos of the paper zine, check their facebook album here.
Anyway, this zine also has a recipe and fashion tutorial but I am reviewing only the fashion tutorial. (Unless you really want me to make scones, but I’ll wait until another day when I can share them and it’s not so freaking hot.) This is a simple old-school style lace headdress, of the period pad style as I refer to it, illustrated by a fellow lolita. I found it easy to follow but maybe that’s because I’ve already made headdresses like this before quite recently. To make this even more useful and interesting, I decided to make a better headdress than Meta could, using the two elaborate double-sided waist ties that came with the Rose Palace Bustier dress, following just this tutorial.
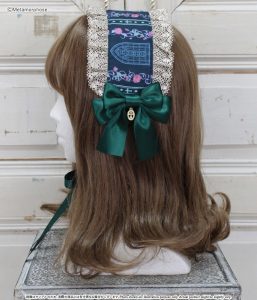
What do you think? Did I do a better job? This is the original headdress they sold, the print is of the rose windows background, trimmed with champagne gold shiny lace all around, with green satin bows on either end and a gold cross charm at the center of each bow. The ties are also green satin ribbons.
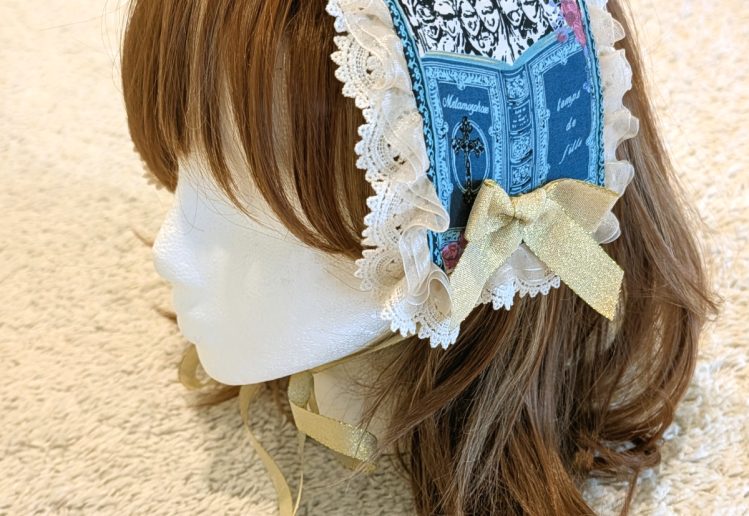
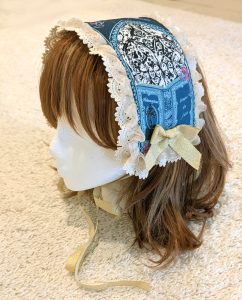
Whereas my headdress is much larger, featuring the detailed view of the rose windows and a book cover that was salvaged from the back side of both waist ties and sewed down the center. I trimmed the headdress with a shimmery champagne gold chiffon ruffle from Daiso, layered over a cream Venice lace that has a similar arched shape to the windows I bought from Etsy. I added light champagne gold ribbon bows from Daiso which are also the ribbon ties. I had a vague idea to add gold charms or maybe a pearl chain but didn’t have anything that matched in my stash and the headdress is so big anyway, almost a bonnet, so having extra decorations dangling and making noise would be annoying. The lining is plain green cotton leftover from a cosplay. I diverged from the tutorial a bit – added a layer of white fabric instead of iron on interfacing, skipped the middle laces trim since I didn’t want to distract from the print, top stitched the whole headdress down after flipping the lace sammich inside out, and of course, sewed the bows.
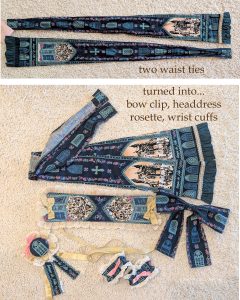
With this complete set of accessories to bring the unique shade of bluish green to my head and wrists, as well as the printed knee socks I already purchased, I can confidently wear this coord out, and when people ask where did I get the the headdress and rosette and wrist cuffs, I can say I made it! I love this color but it was difficult to find matching accessories anywhere if you recall from my winter ILD coord post last year, so I’m glad I finished this project (mostly). All that’s left is to line the original waist ties again.